Blog
ONLINE TRAINING
EXPERT TRAINERS
STUDY AT YOUR PACE
7 DAY SUPPORT

Exercise Highlight: Push-up and push-up variations
When looking for a basic yet effective strength and conditioning exercise, look no further than the humble push-up! Not only can this exercise strengthen the anterior upper body, lower back, and core, but it can also be conducted anywhere with no equipment required. It is important to understand that the standard push-up targets your chest (pectoral muscles), shoulders (anterior deltoids), arm (triceps brachii), and core (serratus anterior, obliques, transverse abdominis). However, by performing a push-up variation (e.g., placing your hands in a modified position), different muscles can be targeted and trained.
Push-up Teaching Points
To begin, we will talk you through the basic teaching points of the exercise.
- Start your push-up with your chest and stomach on the floor, otherwise known as the prone position. Your arms should be slightly wider than your shoulders with your elbows pointing towards your feet (e.g., approximately 30 degrees from horizontal).
- From here, you will progress to the concentric phase of the exercise by pushing through the palms of your hands, straightening your arms, and pushing up onto your toes. In this phase, your body should form a straight line and move as one piece. This means that your head and spine should align with your legs, keeping your core engaged throughout the movement. To accomplish this, remember to squeeze your glutes, draw in and contract your core muscles, look slightly in front of your hands, and push the floor away from you. It is also important that you exhale during this phase.
- Finally, you will enter the eccentric phase. In this part of the movement, you will lower your body by bending through the elbows and keeping neutral alignment until your chest is almost at the floor. Inhale as you come down and repeat.
Regression exercises

If you are working with a client who has never done a push-up before or hasn’t completed one in a very long time, you may want to start with a very simple variation of the exercise. There are various options for beginners, including:
- Knee push-ups: The difference between a traditional push-up and this variation is that the knees are placed on the floor; the top half of the body remains in the same position. This variation is a valuable alternative to the push-up as it uses the same amount of upper body muscle activation.
- Wall push-ups: This variation is performed by standing in an upright position and placing your hands shoulder-height on a wall. The wall push-up can be made easier or more challenging by adjusting the distance of your feet to the wall.
- Incline push-ups: Instead of placing your hands on the floor, this variation requires you to place your hands on a surface that sits approximately three feet from the floor. Differing from the traditional push-up, this exercise puts less pressure on the elbows and reduces the amount of bodyweight lifted
Before jumping into new push-up variations, you must always check that your client is executing the correct technique and has the required strength to do so. It is important that they have appropriate core stability and upper body strength before progressing into more difficult variations. This can be built up through supplementary isolation exercises and other full body exercises.
Progression exercises

Progression push-ups are only limited to your imagination (and client safety, of course!). Some of the more common variations include:
- Offset push-ups: Rather than placing both hands on the floor, one hand must be placed on a slightly elevated surface in this variation. This alters the strength and stability requirements of the shoulders, arms, and core.
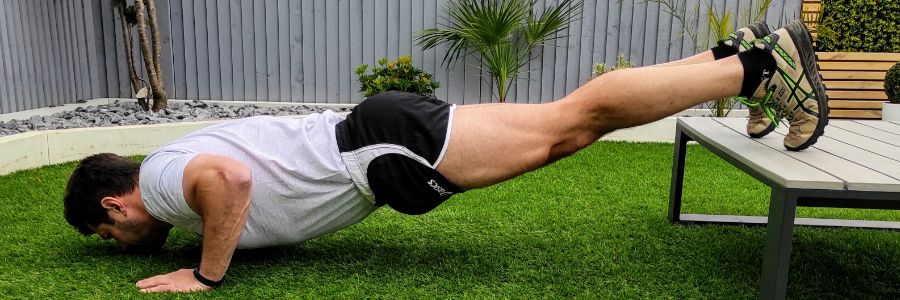
- Decline push-ups: This variation requires the toes to be placed on an elevated surface, which puts the rest of your body to be in a downward angle. When push-ups are completed in this position, the upper pectoral muscles and front shoulders are targeted
- Medicine ball push-ups: In this variation, the lower half of the body remains the same, however; your hands must be placed on a medicine ball instead of the floor. This modification requires your shoulders to be positioned directly above your hands and the ball. Using this piece of equipment engages the core, improves balance, and is beneficial for upper-body strength
The main thing to keep in mind when suggesting push-up variations for a client is to ensure that all exercises align with their goals / programs. There is no use in creating an overly innovative push-up variation or asking your client to do a “cool exercise” that you saw online if it doesn’t meet their needs. The exercise variation must always be client-based.
Common mistakes
When completing a push-up, two common mistakes can be made, often leading to injuries. These include:
- Placing your arms in line with your head rather than your shoulders. This can put unnecessary pressure on the shoulder joint and increase the risk of shoulder injury. As stated earlier, the hands should be placed slightly below the level of the shoulder, creating a 30-degree angle in the line of the humerus (upper arm).
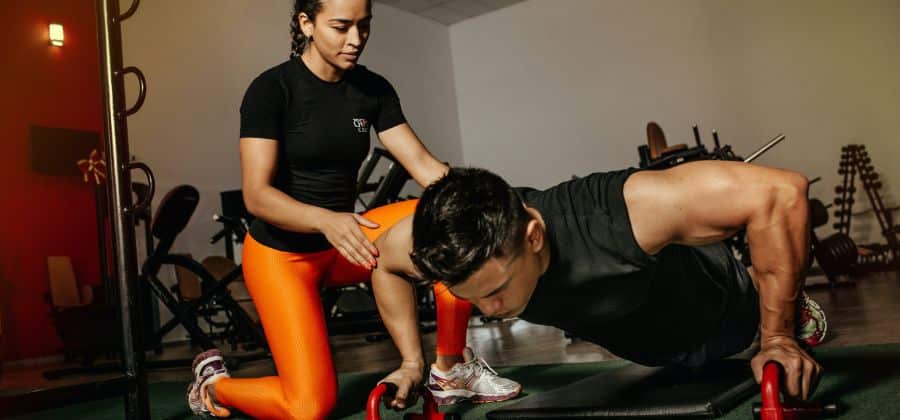
- “Sagging” or “arching” at the lower back – losing the alignment of your neutral spine. This can result in an increased lumbar lordosis or thoracic kyphosis. To overcome this, you can use the technique cues mentioned above and help your clients to move into the correct position.
You must not conduct or encourage push-ups if a shoulder, wrist, or elbow injury is present. If pain is felt or expressed during the exercise, the movement must be stopped and necessary action must be taken (e.g., movement modification, referral to a specialist).
Push-ups are among the best exercises for shoulder stability and health! When planning an exercise program, the inclusion of this exercise should be considered.
Our Nationally Recognised Courses
Australian College of Fitness and Personal Training
PO BOX 15367, CITY EAST QLD 4002Registered Training Organisation Number: 45361
